Bootstrap4 如何创建自定义表单
使用 Bootstrap4 能够自定义浏览器的默认表单控件,可以创建更漂亮优雅的表单布局。 现在,我们可以创建完全自定义并且对各浏览器兼容的单选按钮和复选框、文件输入框、选择下拉列表、范围输入框等。
下面我们看Bootstrap4是如何创建这些自定义表单元素的。
创建自定义复选框
要创建自定义复选框,需要将每个复选框 <input> 及其对应的 <label> 放在 <div> 元素中,并加上以下示例中所示的类:
<div class="form-check">
    <input type="checkbox" class="form-check-input" name="customCheck" id="customCheck1">
    <label class="form-check-label" for="customCheck1">自定义复选框1</label>
</div>
<div class="form-check">
    <input type="checkbox" class="form-check-input" name="customCheck" id="customCheck2" checked>
    <label class="form-check-label" for="customCheck2">自定义复选框2</label>
</div>
上面示例显示的复选框样式如下

创建自定义单选按钮
同样,我们可以使用 Bootstrap4 创建自定义单选按钮,如下所示:
<div class="form-check">
    <input type="radio" class="form-check-input" name="customRadio" id="customRadio1">
    <label class="form-check-label" for="customRadio1">自定义单选按钮1</label>
</div>
<div class="form-check">
    <input type="radio" class="form-check-input" name="customRadio" id="customRadio2" checked>
    <label class="form-check-label" for="customRadio2">自定义单选按钮2</label>
</div>
上面示例显示的单选按钮样式如下

内联复选框和单选按钮
我们还可以通过简单地在带有类 .form-check 的元素上添加类 .form-check-inline 来内联这些自定义复选框和单选按钮。
<div class="form-check form-check-inline">
    <input type="checkbox" class="form-check-input" name="customCheck" id="customCheck1">
    <label class="form-check-label" for="customCheck1">自定义复选框1</label>
</div>
<div class="form-check form-check-inline">
    <input type="checkbox" class="form-check-input" name="customCheck" id="customCheck2" checked>
    <label class="form-check-label" for="customCheck2">自定义复选框2</label>
</div>
<div class="form-check form-check-inline">
    <input type="radio" class="form-check-input" name="customRadio" id="customRadio1">
    <label class="form-check-label" for="customRadio1">自定义单选按钮1</label>
</div>
<div class="form-check form-check-inline">
    <input type="radio" class="form-check-input" name="customRadio" id="customRadio2" checked>
    <label class="form-check-label" for="customRadio2">自定义单选按钮2</label>
</div>
上面示例样式如下

禁用的自定义复选框和单选按钮
自定义复选框和单选按钮也可以禁用。只需给<input>元素添加 disabled 的属性,如以下示例所示:
<form>
        <div class="form-check">
            <input type="checkbox" class="form-check-input" id="customCheck" disabled>
            <label class="form-check-label" for="customCheck">禁用的复选框</label>
        </div>
        <div class="form-check mt-2">
            <input type="radio" class="form-check-input" id="customRadio" disabled>
            <label class="form-check-label" for="customRadio">禁用的单选按钮</label>
        </div>
    </form>
上面示例显示的按钮样式如下

创建切换开关
开关标记类似于自定义复选框。区别是开关标记使用 .form-switch 类来呈现一个切换开关。 开关也支持 disabled 属性。
<form>
        <div class="form-check form-switch">
            <input class="form-check-input" type="checkbox" id="switchDefault">
            <label class="form-check-label" for="switchDefault">默认切换复选框</label>
        </div>
        <div class="form-check form-switch mt-2">
            <input class="form-check-input" type="checkbox" id="switchChecked" checked>
            <label class="form-check-label" for="switchChecked">选中的切换复选框</label>
        </div>
        <div class="form-check form-switch mt-2">
            <input class="form-check-input" type="checkbox" id="switchDisabled" disabled>
            <label class="form-check-label" for="switchDisabled">禁用的切换复选框</label>
        </div>
    </form>
上述示例展示的切换开关的样式如下

创建自定义选择下拉框
我们可以通过简单地在 <select> 元素上添加类 .form-select 来自定义选择下拉框。 但是,这种自定义样式仅限于 <select> 的初始外观样式,由于浏览器限制而无法修改 <option> 。
<select class="form-select">
    <option selected>请选择网址</option>
    <option value="1">jiyik.com</option>
    <option value="2">google.com</option>
    <option value="3">baidu.com</option>
</select>
点击上面的尝试一下查看效果如下

还可以在 选择框上添加 disabled 属性以使其呈现灰色外观并且鼠标移上去显示删除指针,如以下示例所示:
<form>
        <select class="form-select" disabled>
            <option selected>请选择网址</option>
            <option value="1">jiyik.com</option>
            <option value="2">google.com</option>
            <option value="3">baidu.com</option>
        </select>
    </form>
上面示例所示的禁用的选择下拉框的样式如下

还可以分别在 <select> 元素上添加 .form-select-lg 和 .form-select-sm 类创建不同大小的选择框,以匹配类似大小的 Bootstrap4 文本输入的高度。 让我们看一下下面的例子:
<form>
        <select class="form-select form-select-lg">
            <option selected>大的自定义选择下拉框</option>
            <option value="1">One</option>
            <option value="2">Two</option>
            <option value="3">Three</option>
        </select>
        <select class="form-select mt-3">
            <option selected>默认的自定义选择下拉框</option>
            <option value="1">One</option>
            <option value="2">Two</option>
            <option value="3">Three</option>
        </select>
        <select class="form-select form-select-sm mt-3">
            <option selected>小的自定义选择下拉框</option>
            <option value="1">One</option>
            <option value="2">Two</option>
            <option value="3">Three</option>
        </select>
    </form>
上面示例的输出将如下所示:

也可以使用 Bootstrap4 创建支持 multiple 属性的选择框
<select class="form-select" size="3" multiple>
    <option value="1">jiyik.com</option>
    <option value="2">google.com</option>
    <option value="3">baidu.com</option>
    <option value="4">facebook.com</option>
</select>
点击上面的尝试一下查看效果
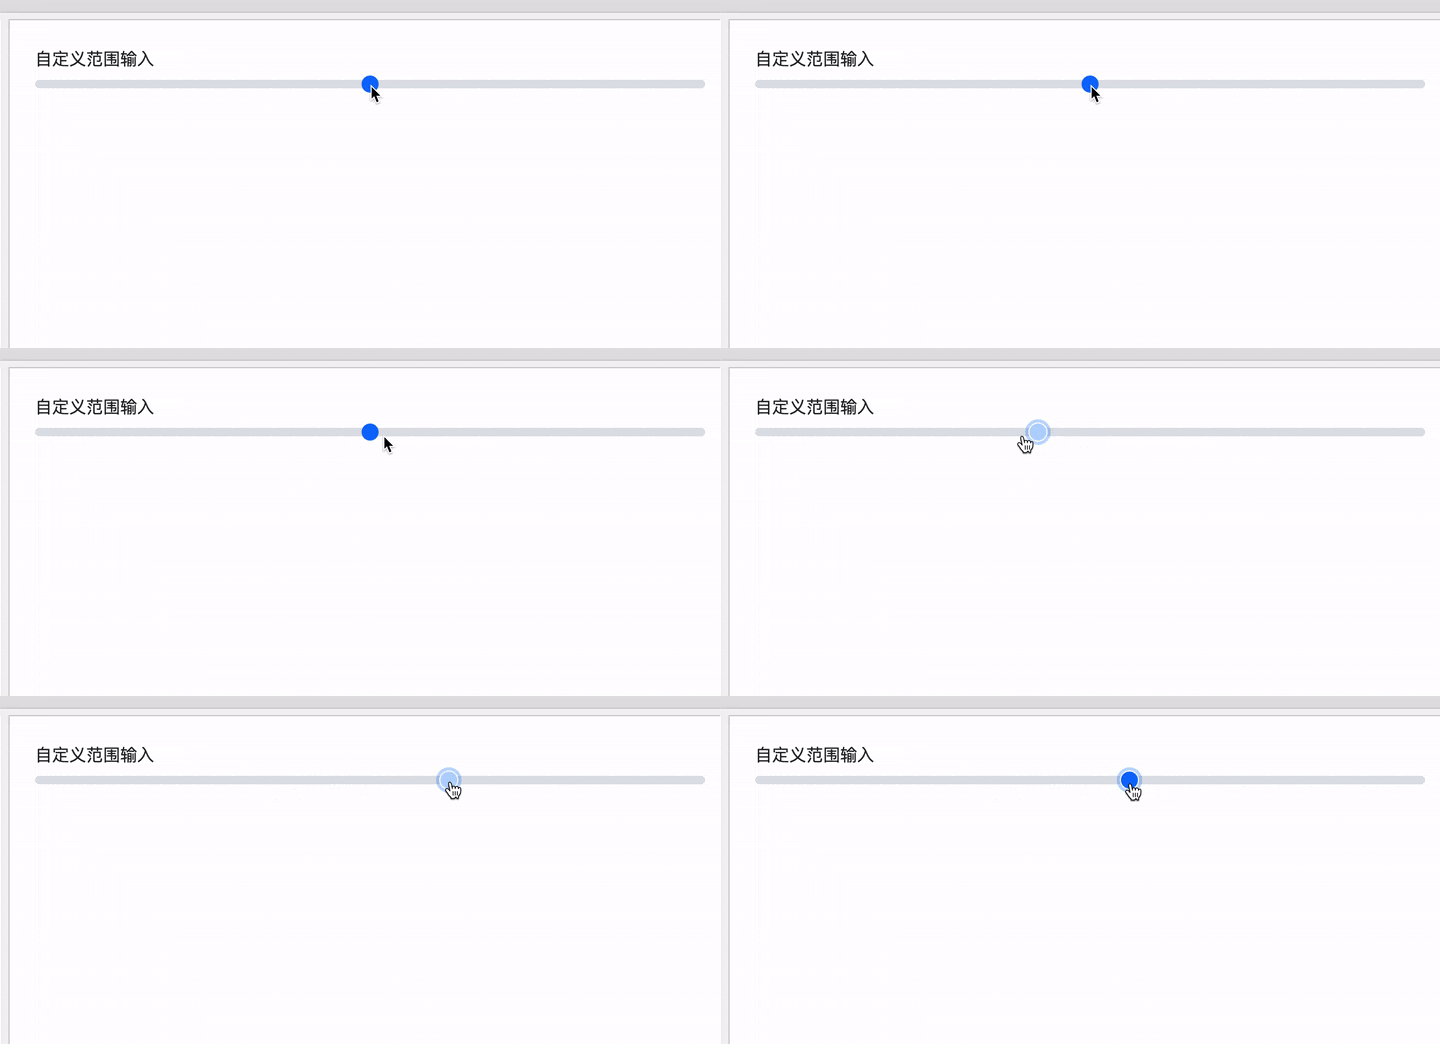
创建自定义范围输入
要创建自定义范围输入,只需将类.form-range应用于 <input type="range"> 即可
<label for="customRange">自定义范围输入</label>
<input type="range" class="form-range" id="customRange">
自定义范围输入的效果如下

同样我们也可以在 <input type="range"> 上添加 disabled 属性来禁用范围输入
<label for="customRange">禁用范围输入</label>
<input type="range" class="form-range" id="customRange" disabled>
点击上面的尝试一下查看效果
设置最小值和最大值
默认情况下,范围输入具有最小值和最大值的隐式值——分别为 0 和 100。 但是,我们可以使用 min 和 max 属性指定新值。
此外,默认情况下,范围输入“对齐”到整数值。 要更改此设置,我们可以指定一个步长值。 在以下示例中,我们通过使用 step="0.5" 将步数增加了一倍。
<label for="customRange">自定义范围输入</label>
<input type="range" class="form-range" min="0" max="10" step="0.5" id="customRange">
