JavaScript 倒数计时器
本教程向你介绍 JavaScript 倒计时。它使用 setInterval()、pad()、clearInterval() 和 Math.floor() 函数和对象来创建计数计时器。
它还说明了 jQuery 如何帮助你优化代码。
HTML 代码:
<!DOCTYPE html>
<html>
  <head>
    <title>Count Up Timer in JavaScript</title>
  </head>
  <body>
      <div id="count_up_timer">00:00:00</div>
      <button id="stop_count_up_timer" onclick="clearInterval(timerVariable)">Stop Time</button>
  </body>
</html>
CSS 代码:
#count_up_timer{
	font-size: 100px;
	font-weight: bold;
	color: darkblue;
}
#stop_count_up_timer{
	background-color:black;
	color:white
}
JavaScript 代码:
var timerVariable = setInterval(countUpTimer, 1000);
var totalSeconds = 0;

function countUpTimer() {
  ++totalSeconds;
  var hour = Math.floor(totalSeconds / 3600);
  var minute = Math.floor((totalSeconds - hour * 3600) / 60);
  var seconds = totalSeconds - (hour * 3600 + minute * 60);
  document.getElementById("count_up_timer").innerHTML = hour + ":" + minute + ":" + seconds;
}
输出:
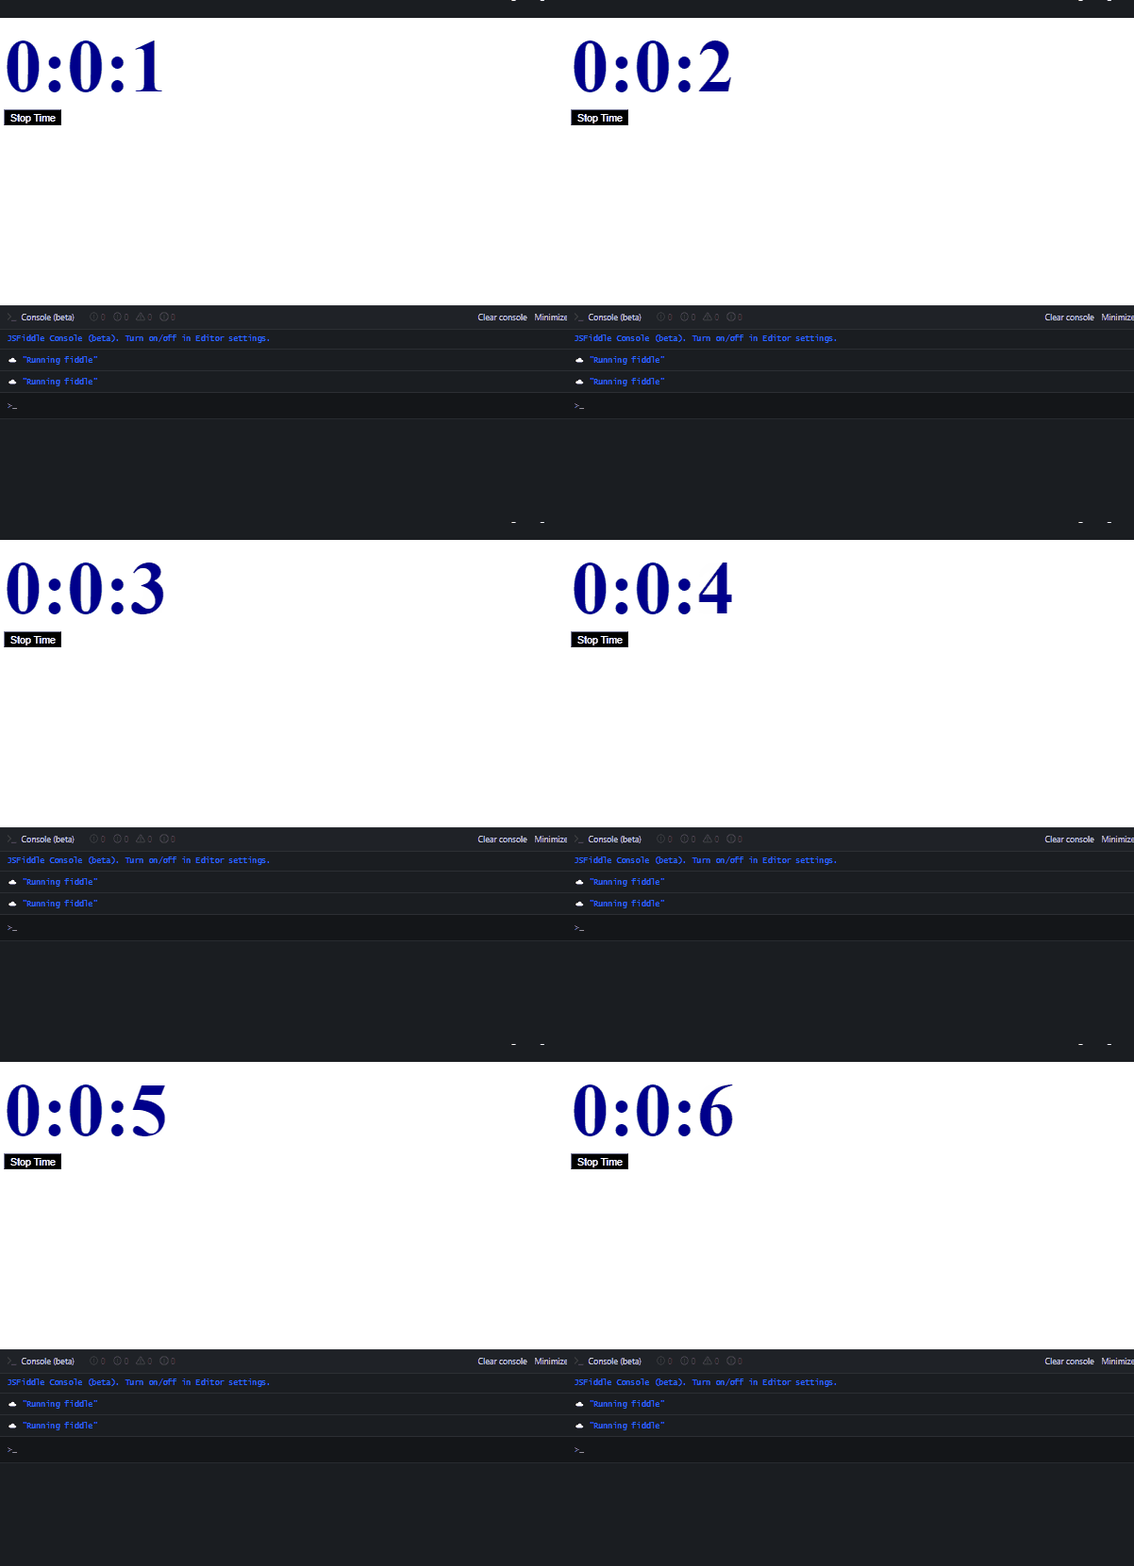
在此代码示例中,setInterval() 函数每秒调用一次 countUpTimer() 函数(1 秒 = 1000 毫秒)。在 countUpTimer() 函数中,变量 totalSeconds 首先增加 1,然后用于小时、分钟和秒的转换。
之后,id 值为 count_up_timer 的第一个元素被选中。HTML 内容 (innerHTML) 被计时器 (hour:minute:seconds) 替换。一旦你点击 Stop Timer 按钮,倒计时计时器将停止。
setInterval() 函数以给定的时间间隔调用一个函数。它需要两个参数,并且都是必需的。第一个参数是一个函数,另一个是以毫秒为单位的间隔。
但是,setInterval() 方法会一直调用该函数,直到窗口关闭或调用 clearInterval() 函数。它返回时间的 id,我们可以使用 clearInterval() 函数来停止计时器。
.innerHTML 属性返回或修改指定元素的 HTML 内容。Math.floor() 将返回最大的整数(小于或等于给定的数字)。
HTML 代码:
<!DOCTYPE html>
<html>
  <head>
    <title>Count Up Timer in JavaScript</title>
  </head>
  <body>
    <h1>Count Up Timer For One Hour</h1>
	<div id = "timer">
	   <span id="minutes"></span>:<span id="seconds"></span>
	</div>
   </body>
</html>
CSS 代码:
#timer{
	font-size:100px;
	color:green;
	margin-left:80px;
}
JavaScript 代码:
var second = 0;
    function pad ( value ) { return value > 9 ? value : "0" + value; }
    setInterval( function(){
        document.getElementById("seconds").innerHTML=pad(++second%60);
        document.getElementById("minutes").innerHTML=pad(parseInt(second/60,10));
    }, 1000);
输出:
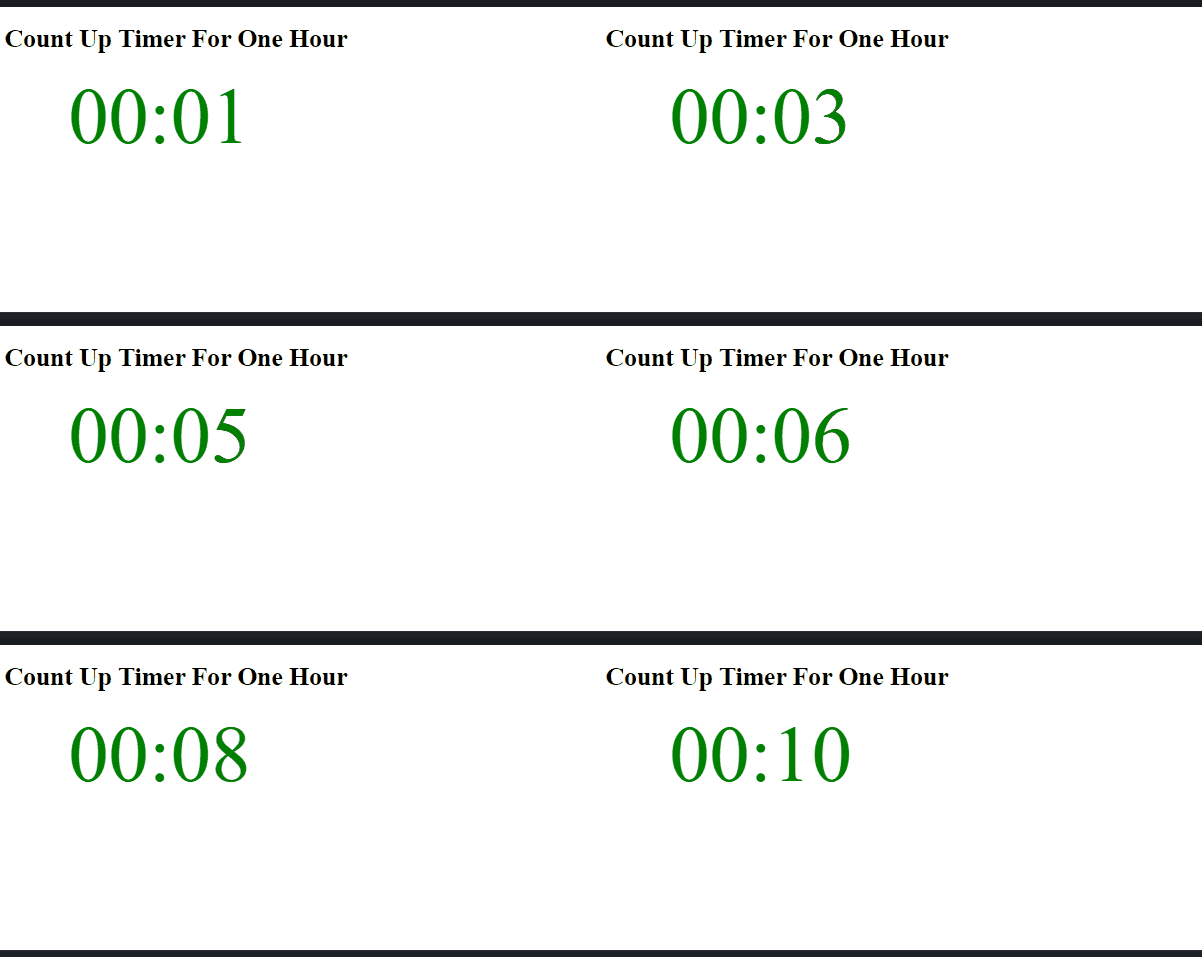
在此示例代码中,pad() 函数添加了前导零。它检查传递给它的值是否是单个数字(小于或等于 9),然后添加前导零,否则不是。
setInterval() 函数以特定的时间间隔调用给定的函数。间隔必须以毫秒为单位。
然后,setInterval() 将调用一个匿名函数来获取 id 值为 seconds 和 minutes 的元素。这个匿名函数用 pad() 函数返回的值替换 innerHTML(HTML 内容)。
parseInt() 函数解析给定的字符串参数并返回一个特定 radix 的整数。
HTML 代码:
<!DOCTYPE html>
<html>
  <head>
    <title>Count Up Timer in JavaScript</title>
    <script src="https://ajax.googleapis.com/ajax/libs/jquery/2.1.1/jquery.min.js"></script>
  </head>
  <body>
    <h1>Count Up Timer For One Hour</h1>
	<div id = "timer">
	   <span id="minutes"></span>:<span id="seconds"></span>
	</div>
   </body>
</html>
CSS 代码:
#timer{
	font-size:100px;
	color:green;
	margin-left:80px;
}
JavaScript 代码:
var second = 0;
    function pad ( value ) { return value > 9 ? value : "0" + value; }
    setInterval( function(){
        $("#seconds").html(pad(++second%60));
        $("#minutes").html(pad(parseInt(second/60,10)));
    }, 1000);
输出:
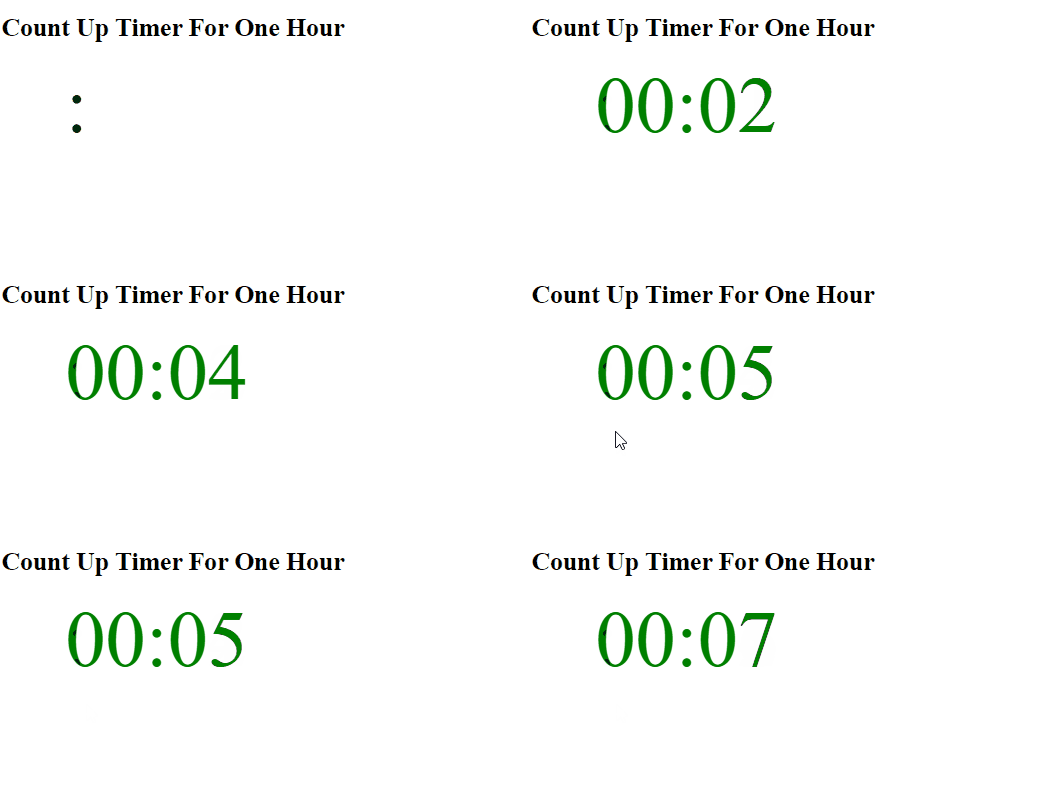
如果你想要一个前导零但不想使用 pad() 函数和 jQuery 库怎么办。那么,以下解决方案适合你。
HTML 代码:
<!DOCTYPE html>
<html>
  <head>
    <title>Count Up Timer in JavaScript</title>
  </head>
  <body>
      <div id="count_up_timer">00:00:00</div>
      <button id="stop_count_up_timer" onclick="clearInterval(timerVariable)">Stop Time</button>
  </body>
</html>
CSS 代码:
#count_up_timer{
	font-size: 100px;
	font-weight: bold;
	color: darkblue;
}
#stop_count_up_timer{
	background-color:black;
	color:white
}
JavaScript 代码:
var timerVariable = setInterval(countUpTimer, 1000);
var totalSeconds = 0;

function countUpTimer() {
  ++totalSeconds;
  var hour = Math.floor(totalSeconds / 3600);
  var minute = Math.floor((totalSeconds - hour * 3600) / 60);
  var seconds = totalSeconds - (hour * 3600 + minute * 60);
  if(hour < 10)
     hour = "0"+hour;
  if(minute < 10)
     minute = "0"+minute;
  if(seconds < 10)
     seconds = "0"+seconds;
  document.getElementById("count_up_timer").innerHTML = hour + ":" + minute + ":" + seconds;
}
输出:
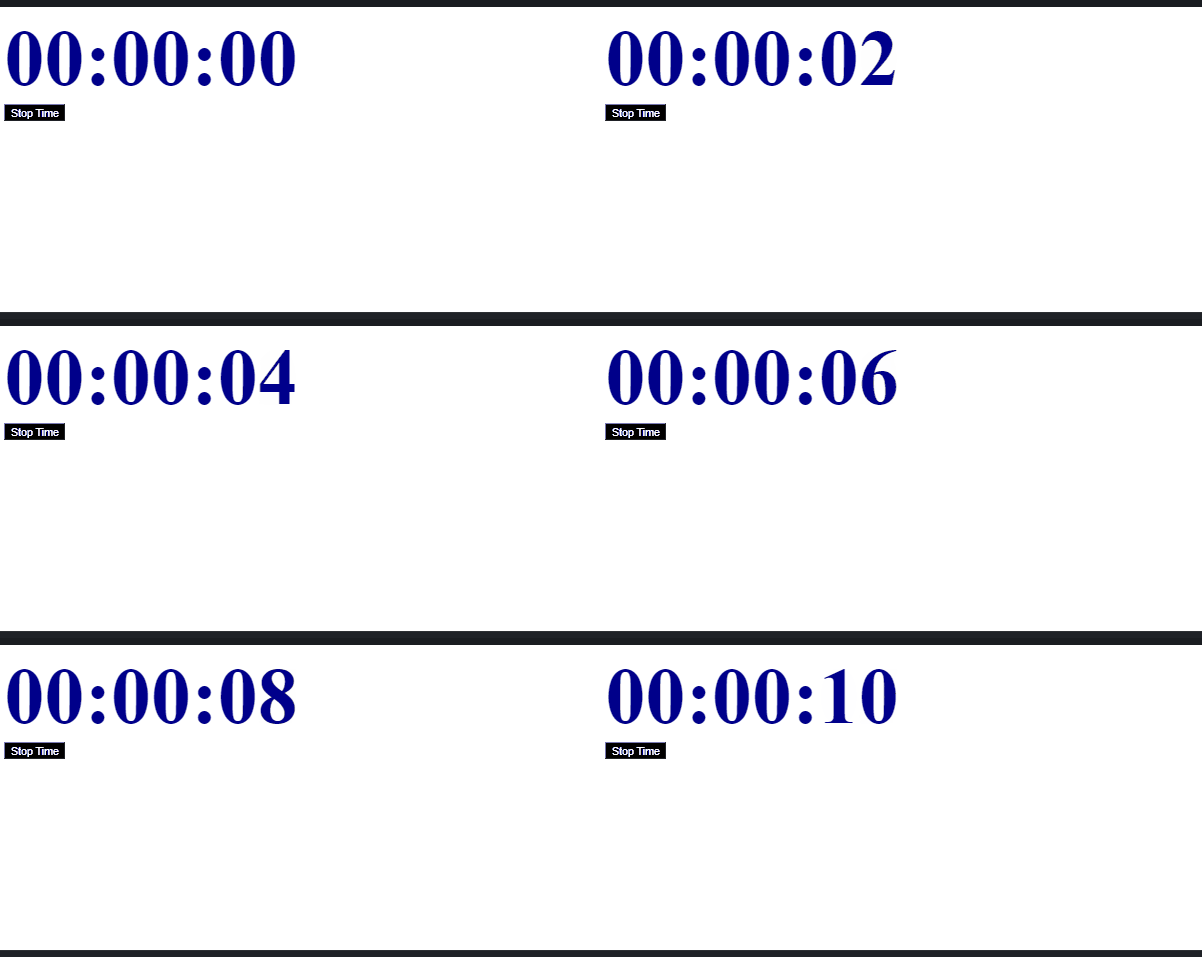
在上面的代码中,if 语句用于检查小时、分钟和秒。如果它们小于 10,将添加前导零(这意味着它们是个位数);否则就不会。
你可能已经注意到,我们学习的所有计数计时器都会在代码执行后立即启动。如果我们可以完全控制 JavaScript 倒计时怎么办?让我们也学习一下。
HTML 代码:
<!DOCTYPE html>
<html>
  <head>
    <title>Count Up Timer in JavaScript</title>
  </head>
  <body>
    <div id="timer">
      <span id="minutes">00</span>:<span id="seconds">00</span>
    </div>
    <div id="control">
      <button id="startbtn">START</button>
      <button id="pausebtn">PAUSE</button>
      <button id="resumebtn">RESUME</button>
      <button id="resetbtn">RESET</button>
    </div>
  </body>
</html>
CSS 代码:
#timer{
	font-size: 100px;
	font-weight: bold;
}
#control>#startbtn{
	background-color:green;
	color:white;
}
#control>#pausebtn{
	background-color:blue;
	color:white;
}
#control>#resumebtn{
	background-color:orange;
	color:white;
}
#control>#resetbtn{
	background-color:red;
	color:white;
}
JavaScript 代码:
var Clock = {
  totalSeconds: 0,
  startTimer: function () {
    if (!this.interval) {
        var self = this;
        function pad(val) { return val > 9 ? val : "0" + val; }
        this.interval = setInterval(function () {
          self.totalSeconds += 1;
          document.getElementById("minutes").innerHTML = pad(Math.floor(self.totalSeconds / 60 % 60));
          document.getElementById("seconds").innerHTML = pad(parseInt(self.totalSeconds % 60));
        }, 1000);
    }
  },
  resetTimer: function () {
    Clock.totalSeconds = null;
    clearInterval(this.interval);
    document.getElementById("minutes").innerHTML = "00";
    document.getElementById("seconds").innerHTML = "00";
    delete this.interval;
  },
  pauseTimer: function () {
    clearInterval(this.interval);
    delete this.interval;
  },
  resumeTimer: function () {
    this.startTimer();
  },
};

document.getElementById("startbtn").addEventListener("click", function () { Clock.startTimer(); });
document.getElementById("pausebtn").addEventListener("click", function () { Clock.pauseTimer(); });
document.getElementById("resumebtn").addEventListener("click", function () { Clock.resumeTimer(); });
document.getElementById("resetbtn").addEventListener("click", function () { Clock.resetTimer(); });
输出:
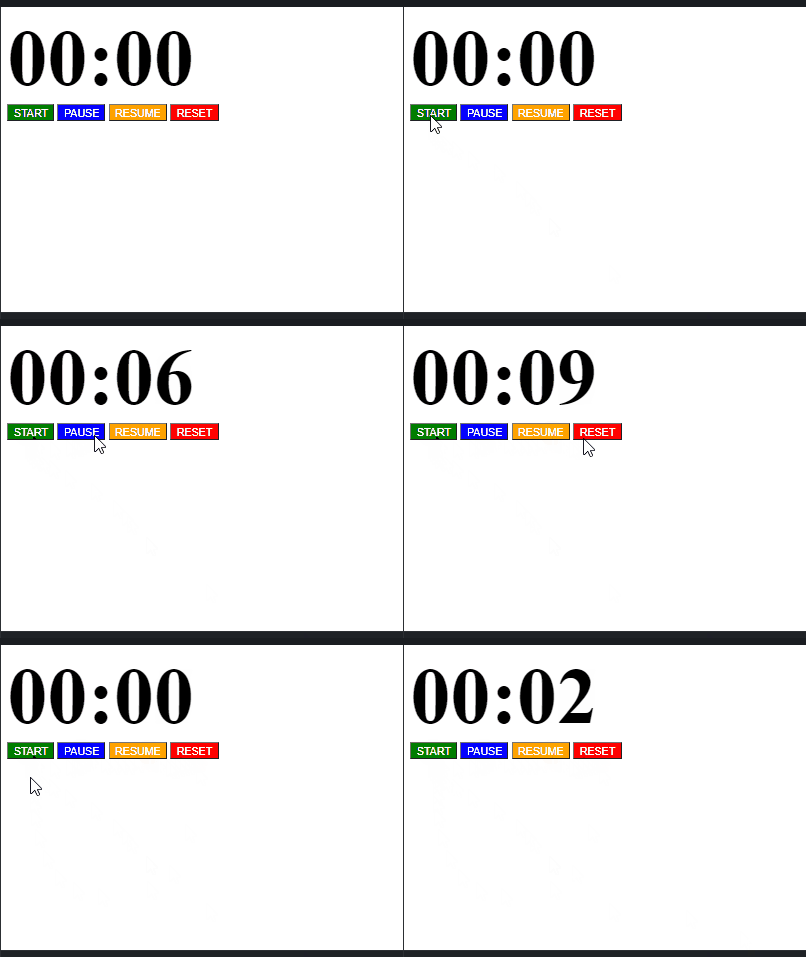
在这里,我们创建了一个名为 Clock 的对象,它具有 5 个属性,分别命名为 totalSeconds、startTimer、resetTimer、pauseTimer 和 resumeTimer。每个属性的值都是一个匿名函数,有自己的函数体。
this 关键字指的是它所属的一个对象,并且总是持有一个对象的引用。
例如,this.resumeTimer 表示 this(时钟)对象的 resumeTimer 属性。
clearInterval() 函数用于停止计数定时器。请记住,Clock 对象的每个属性都将作用于点击事件。
相关文章
Do you understand JavaScript closures?
发布时间:2025/02/21 浏览次数:108 分类:JavaScript
-
The function of a closure can be inferred from its name, suggesting that it is related to the concept of scope. A closure itself is a core concept in JavaScript, and being a core concept, it is naturally also a difficult one.
Do you know about the hidden traps in variables in JavaScript?
发布时间:2025/02/21 浏览次数:178 分类:JavaScript
-
Whether you're just starting to learn JavaScript or have been using it for a long time, I believe you'll encounter some traps related to JavaScript variable scope. The goal is to identify these traps before you fall into them, in order to av
How much do you know about the Prototype Chain?
发布时间:2025/02/21 浏览次数:150 分类:JavaScript
-
The prototype chain can be considered one of the core features of JavaScript, and certainly one of its more challenging aspects. If you've learned other object-oriented programming languages, you may find it somewhat confusing when you start
用 jQuery 检查复选框是否被选中
发布时间:2024/03/24 浏览次数:102 分类:JavaScript
-
在本教程中学习 jQuery 检查复选框是否被选中的所有很酷的方法。我们展示了使用直接 DOM 操作、提取 JavaScript 属性的 jQuery 方法以及使用 jQuery 选择器的不同方法。你还将找到许多有用的
jQuery 中的 Window.onload 与 $(document).ready
发布时间:2024/03/24 浏览次数:180 分类:JavaScript
-
本教程演示了如何在 jQuery 中使用 Window.onload 和 $(document).ready 事件。

