How to Fix the “This Site Can’t Provide a Secure Connection” Error
Nothing is more frustrating than receiving an error message that brings our work to a screeching halt—especially when security is involved. Seeing a “This Site Can’t Provide a Secure Connection” notification can be confusing and alarming.
The error message above translates to “This site can’t provide a secure connection.” This problem is usually related to our web browser or the site’s SSL certificate. Fortunately, it’s relatively easy to fix. It might be as simple as clearing your browser’s cache .
In this article, we’ll take a look at the most common causes of this error message. Then, we’ll walk you through how to troubleshoot and fix it so you can get back to more important things. Let’s get started!
This Site Can't Provide a Secure Connection Error Description
First, what is a "secure connection"? Essentially, it's a connection to a website that uses HTTPS HTTPSinstead of HTTP . Most browsers display these sites with a padlock icon in the address bar to indicate that the connection is using HTTPS and is secure.

HTTPS offers major security advantages over HTTP, but it also has strict requirements to ensure compliance. One of these is the presence of a valid SSL certificate.
The “This Site Can't Provide a Secure Connection” error indicates a problem with the SSL certificate. In other words, the site claims to be HTTPS-compliant, but it either doesn't provide a certificate or uses an invalid certificate. If the certificate can't be verified, the browser won't load the site and will instead display this error message.
Another thing to know about this notification is that the way it is presented can vary from browser to browser. However, in each case, the message will mention a secure connection in some form.
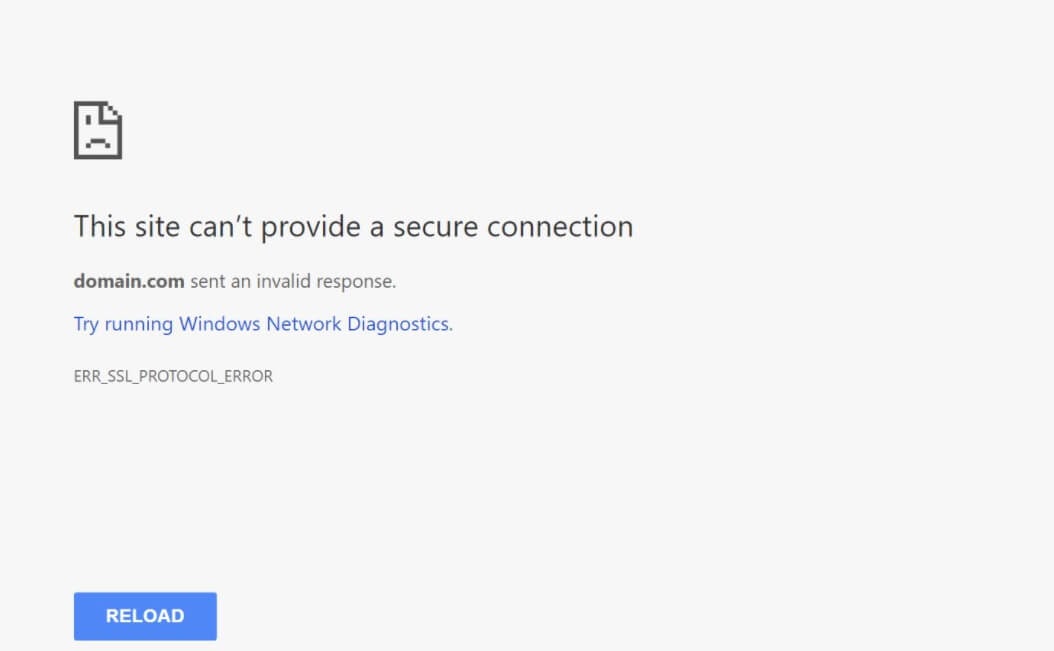
Here’s what the message looks like in Google Chrome:
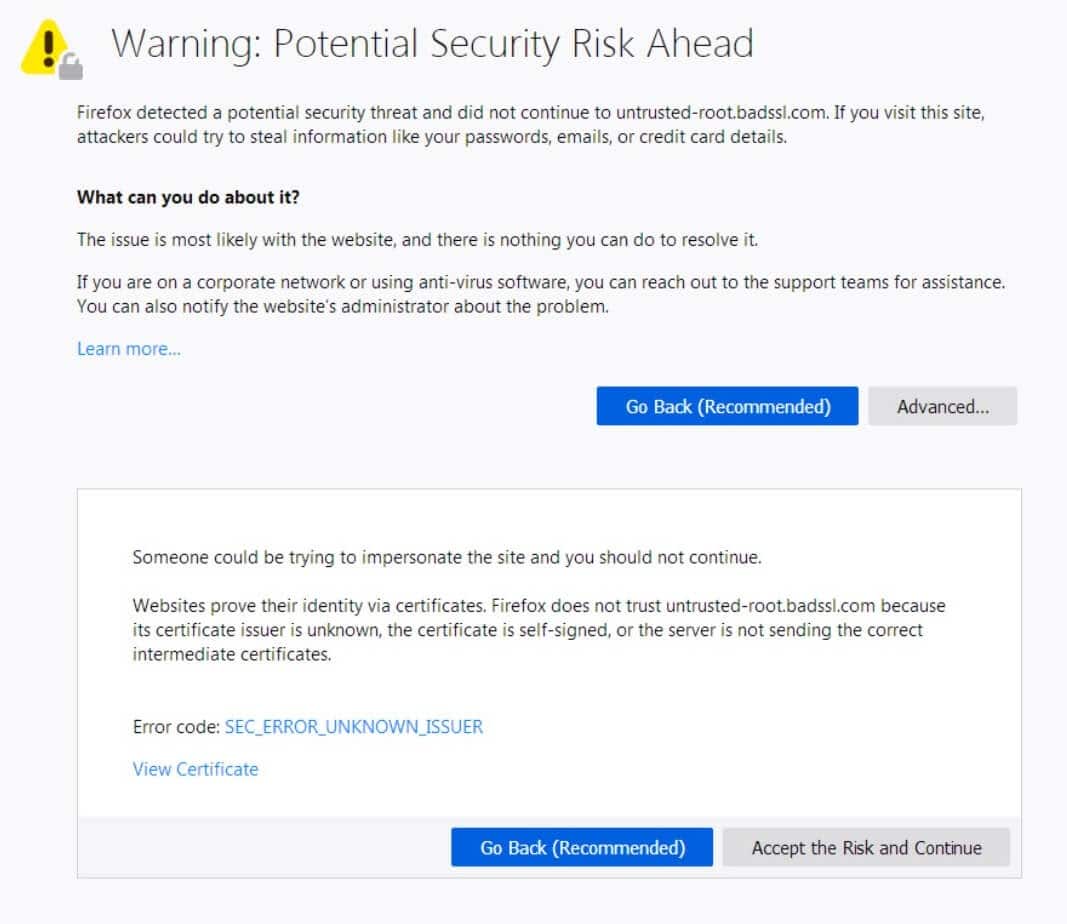
In Mozilla Firefox, it looks like this:
Here’s what it looks like in Microsoft Edge:
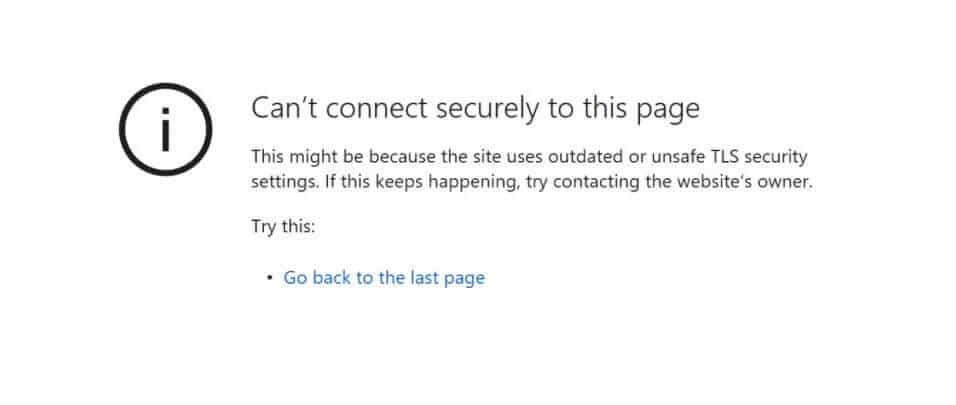
As you can see, most browsers don’t provide much information about the error message. Firefox at least gives you some guidance, but it’s still pretty vague. Don’t worry — we’ll cover it in the rest of this article.
Why do I see the error “This Site Can't Provide a Secure Connection”?
Now, you just saw a warning about the website being unsafe, but that doesn't necessarily mean the site is unsafe. While it is a possibility, it's more often on the positive side. Common causes fall into two categories: web browser issues and site or system configuration issues.
If you see the error in one browser, but the page works fine in other browsers, that indicates a problem with the browser (usually the cache). If the error appears in all browsers, then you know the problem is with the computer you're using or with the website itself.
Let's explore the most common causes of this error message:
- Local environment does not have SSL certificates - If you are using a local environment such as MAMP, your sites may not have certificates. This should be the first step in troubleshooting as this may be the cause of the problem. If you are looking for a powerful local development tool that includes automatic SSL certificates for all sites.
- Outdated SSL cache in the browser - This is one of the more common reasons. Web browsers store SSL certificates in cache, just like other data. This means they don't have to verify the certificate every time you visit a site, which speeds up your browsing. However, if your SSL certificate changes and your browser is still loading the older cached version, it can cause this error to pop up.
- Incorrect time and date settings on your computer - If your computer is set to the wrong time and date, it can cause problems with SSL certificate authentication. Fortunately, this is a fairly simple fix.
- Harmful browser extensions - Misconfigured or misbehaving browser extensions can also cause certificate authentication issues. While this can be malicious, it is often a simple coding error.
- Antivirus software false positives – Likewise, antivirus software that scans your connection in real time can sometimes throw this message. This can be due to a coding error or simply overly aggressive settings.
- Invalid or expired SSL certificate - If the SSL certificate for your website has expired or is invalid, then you will see this error. Certificates need to be renewed periodically.
In the next section, we'll look at how to troubleshoot MAMP secure connection errors.
How to fix the "This Site Can't Provide a Secure Connection" error when using MAMP (in 6 steps)
As we mentioned before, for a MAMP installed development environment, the most likely culprit for this problem is a missing SSL certificate for the localhost environment. Fortunately, it is relatively easy to create one using OpenSSL, and doing so should resolve your error message. The following instructions are designed for macOS users, but they should also work for Linux.
Step 1: Create a root SSL certificate
First, you need to create a root SSL certificate. This enables you to sign additional certificates for your domain.
First, open the Terminal application on your computer and enter the following command:
$ openssl genrsa -des3 -out rootCA.key 2048
This command generates rootCA.keyan RSA-2048 key with the file name . You will use this key to create a root certificate. You will be asked for a passphrase - write it down as you will need it to use the key when generating the certificate.
Next, enter the following command to create the root SSL certificate:
$ openssl req -x509 -new -nodes -key rootCA.key -sha256 -days 1024 -out rootCA.pem
The certificate will be saved to rootCA.pema file. The "1024" represents the number of days the certificate will remain valid - we can change this to anything we want.
Step 2: Trust the root certificate
With the root certificate ready, the next step is to tell the operating system (OS) to trust it. This ensures that any future certificates created with it are trusted by default, saving us time.
Keychain AccessTo do this, open the application
on macOS and click System and Certificates in the sidebar . Next, select File > Import Items and select the rootCA.pem certificate created in the previous step.
Once imported, double-click it and change the option when using this certificate to Always Trust. You are now ready to create an SSL certificate for your domain.
Step 3: Create OpenSSL configuration file
Next, you need to create a configuration file that contains the OpenSSL settings to be used when creating the certificate. First, create a server.csr.cnffile called . It should contain the following:
[req]
default_bits = 2048
prompt = no
default_md = sha256
distinguished_name = dn
[dn]
C=US
ST=RandomState
L=RandomCity
O=RandomOrganization
OU=RandomOrganizationUnit
emailAddress=hello@example.com
CN = localhost
Save this file, then create another one named v3.ext, and add the following:
authorityKeyIdentifier=keyid,issuer
basicConstraints=CA:FALSE
keyUsage = digitalSignature, nonRepudiation, keyEncipherment, dataEncipherment
subjectAltName = @alt_names
[alt_names]
DNS.1 = localhost
Next, you will generate a key to sign your domain's SSL certificate.
Step 4: Generate certificate key for localhost
Return to the Terminal application and enter the following command to create a key for localhost:
$ openssl req -new -sha256 -nodes -out server.csr -newkey rsa:2048 -keyout server.key -config <( cat server.csr.cnf )
The keys are stored in server.keyfiles.
Step 5: Create an SSL certificate for your local domain
We are almost done! Now it is time to generate an SSL certificate for localhost. You can do this by entering the following command in the Terminal application:
$ openssl x509 -req -in server.csr -CA rootCA.pem -CAkey rootCA.key -CAcreateserial -out server.crt -days 500 -sha256 -extfile v3.ext
This command creates a server.crtcertificate file named .
Step 6: Activate the SSL certificate for localhost
Finally, copy the server.key and server.crt files created in the previous two steps to your MAMP installation folder. You can now enable HTTPS on your locally installed WordPress or other web applications without receiving the "This Site Can't Provide a Secure Connection" error.
Summary
The "This Site Can't Provide a Secure Connection" message in MAMP not only prevents access to our site, but it can also be worrisome due to potential security implications. Fortunately, it is usually benign and relatively easy to fix.
This error usually indicates a problem with our browser configuration or the SSL certificate on the site (on localhost, this usually means there isn't one at all). Fixing it simply involves generating an SSL certificate for localhost using OpenSSL. By following the tips listed above, you should be able to quickly resolve this error so we can get back to work.
For reprinting, please send an email to 1244347461@qq.com for approval. After obtaining the author's consent, kindly include the source as a link.
Related Articles
How to redirect a website from HTTP to HTTPS
Publish Date:2025/03/16 Views:117 Category:NETWORK
-
HTTPS is a protocol for secure communication over computer networks and is widely used on the Internet. More and more website owners are migrating from HTTP to HTTPS, mainly due to the following 5 reasons: Google announced that websites usi
How to Fix the “SSL Handshake Failed” Error (5 Methods)
Publish Date:2025/03/16 Views:96 Category:NETWORK
-
Installing a Secure Sockets Layer (SSL) certificate on your WordPress site enables it to use HTTPS for a secure connection. Unfortunately, there are a lot of things that can go wrong in the process of verifying a valid SSL certificate and e
Detailed introduction to Let's Encrypt
Publish Date:2025/03/16 Views:129 Category:NETWORK
-
Let's Encrypt is a free, automated, and open certificate authority that officially launched in April 2016. It was originally founded in 2012 by two Mozilla employees. Their goal for founding Let's Encrypt was really simple; to encrypt the e
HTTP2 Tutorial - How to use HTTP/2 with HTTPS
Publish Date:2025/03/16 Views:84 Category:NETWORK
-
HTTPS is used to build ultra-secure networks connecting computers, machines, and servers to handle sensitive business and consumer information. HTTP/2 browser support includes HTTPS encryption, which actually complements the overall securit
PowerShell 脚本返回机器上.NET 框架的版本
Publish Date:2024/02/29 Views:88 Category:编程语言
-
本教程将教你在 PowerShell 中检查 .NET 框架版本。
PowerShell 通过网络复制文件
Publish Date:2024/02/05 Views:224 Category:编程语言
-
本教程将教你使用 PowerShell 通过网络共享复制文件。PowerShell 是一个强大的工具,可让你从其命令行界面执行不同的文件和文件夹操作。
在批处理脚本中映射网络驱动器
Publish Date:2023/08/14 Views:611 Category:操作系统
-
本文将讨论如何在批处理脚本中映射网络驱动器。在批处理脚本中映射网络驱动器 为此,我们将看到同一命令的三种格式。 但是,命令的一般格式是:
使用 Java 创建 HTTPS 服务器
Publish Date:2023/08/10 Views:285 Category:Java
-
本文介绍如何使用 Java 创建简单的 HTTPS 服务器。使用 Java 创建 HTTPS 服务器 在用JAVA创建HTTPS服务器之前,我们必须确保已经生成了服务器将使用的Keystore和Truststore。

